How To… | OneDrive
What is OneDrive?
Microsoft OneDrive is an online storage system for your files – similar to DropBox or Google Drive.As a student or member of staff at the University of Lincoln, you have FREE access to 1Tb of storage space via Office 365.
Why should I use OneDrive?
- Store files, safely and securely online so you can access them from anywhere.
- Share files with internal and external contacts digitally.
- Keep all of your files in one place with 1TB of storage available.
- Back up your files easily to the cloud so you don’t lose your work.
How can I access OneDrive?
You can get to OneDrive by signing in at 365.lincoln.ac.uk and selecting the OneDrive option. You can also download desktop and mobile apps, meaning you can access all your files on the go!

Uploading and Sharing Files and Folders
To upload a file or folder, click on the upload button in the OneDrive toolbar and select “Files” or “Folder”, then select the relevant file or folder on your PC or Mac to upload.

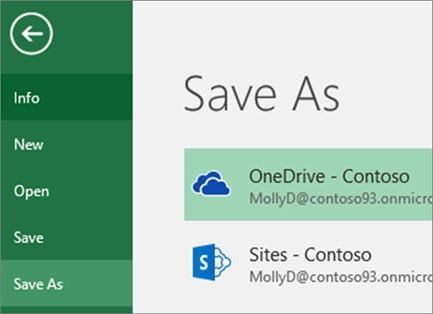
Alternatively, you can drag and drop files directly into the OneDrive window, or into an existing folder within OneDrive – just as you would on a regular PC or Mac! You can also save documents directly to your OneDrive from their respective program using “Save As”. On PC, Office 365 applications, including Word, Excel, PowerPoint and others will display this option when selecting “File” > “Save As”.
To share a file, click on the “Share”icon that appears when you hover over it. Then type in the email of the person you wish to share with, or set access rights through the drop-down menu.
![]()
OneDrive files and folders are not shared by default. This means that when you add a new file or folder to your OneDrive, nobody else will be able to see it unless you add a file into a folder that is already shared.
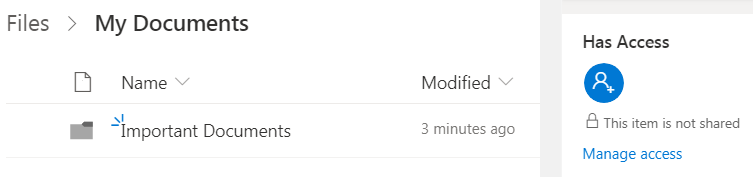
You can see who has access to a file or folder by clicking the “…” icon, and clicking “Details”. ![]()
To share a file or folder, hover over the file or folder name, and click the share icon.
When using desktop OneDrive folders, right-click on the file or folder name and select “Share”.
Doing this will allow you to share a link with a chosen individual, or group of people.
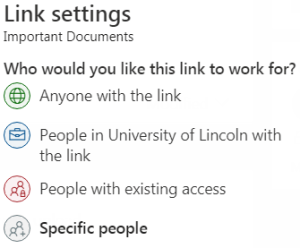
Click the top box to choose who a link to your file or folder is shared with. It’s important to make sure that only people who need access to the file or folder receive access, and nobody else.
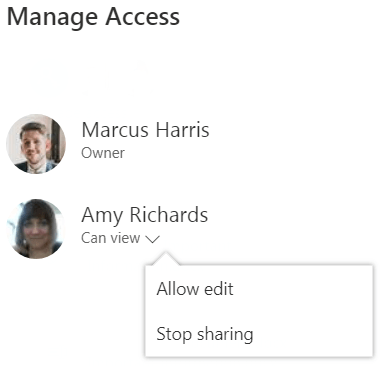
Once you’ve chosen who to give access to, they will appear on the “Has Access” list. You can change their access level or remove their access altogether by clicking on “Shared” in the “Sharing” column and changing settings in the “Manage Access” window.
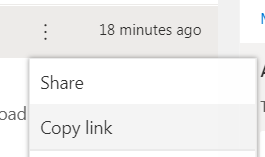
You can also create a standalone link to share by clicking “Copy link”. Doing this will create a link that can be copied and sent to people.
This link can only be used by people depending on the level of access you have set in the Link settings. You can remove access via this link completely in the “Manage Access” section.
Creating a File Request
In some instances, you may wish to setup an area for users to upload files, which can only be seen by you – similar to a submission.
With the file request feature in OneDrive, you can choose a folder where others can upload files using a link that you send them. The users that you request files from cannot see what’s in the folder – they can only upload files to it.
For information on how to do this, take a look at the Microsoft help page here
Recovering Deleted Files
When you delete items from SharePoint and OneDrive, they aren’t permanently removed straight away. Deleted items go into the recycle bin for a period of time before being permanently deleted.
If you delete an item from your OneDrive online (via 365.lincoln.ac.uk), it will be moved to your OneDrive recycle bin. If you wish to recover the item, follow the steps below:
- Click “Recycle bin” in the left-hand menu.
- Select the file you wish to recover.
- Click the “Restore” button at the top of the page.
If you delete the item from your Recycle bin, you will find it in the second-stage recycle bin. A link to this can be found at the bottom of the recycle bin if you have the necessary permissions.
IMPORTANT: If an item stays in either of the recycle bins for over 93 days, it will be permanently deleted and cannot be recovered by service administrators.
Take a look at our full guide to Recovering Deleted Files in SharePoint and OneDrive for more information.
Other Functions
OneDrive storage operates very similarly to regular storage on your computer. Files can be dragged and dropped into folders within the OneDrive window. You can also select multiple files with the check buttons, or by clicking and dragging to select multiple files at once.
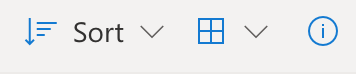
To change your view of the files in your window, you can use the buttons in the top right of the window to sort your files, change your view from lines to tile images, and look at other details about the folder you are currently working with.
If you need any assistance with OneDrive, or any Office 365 applications, contact the ICT Service Desk on 01522 88 6500, or by emailing ict@lincoln.ac.uk